
How to Make Yaki Onigiri (Japanese Grilled Rice Balls Soy Sauce & Miso Recipes)
Onigiri, or Japanese rice balls, are one of the simplest yet most popular foods in Japan, enjoyed daily by both kids and adults. They’ve also been gaining popularity overseas, with people trying new rice ball flavors, air fryer onigiri, and fried rice balls Japanese style.
A tasty variation is yaki onigiri, crispy grilled rice balls brushed with savory soy or miso sauce. This toasted onigiri has a smoky flavor that makes it appetizing.
Here are my tips for making yaki grilled onigiri at home:
-
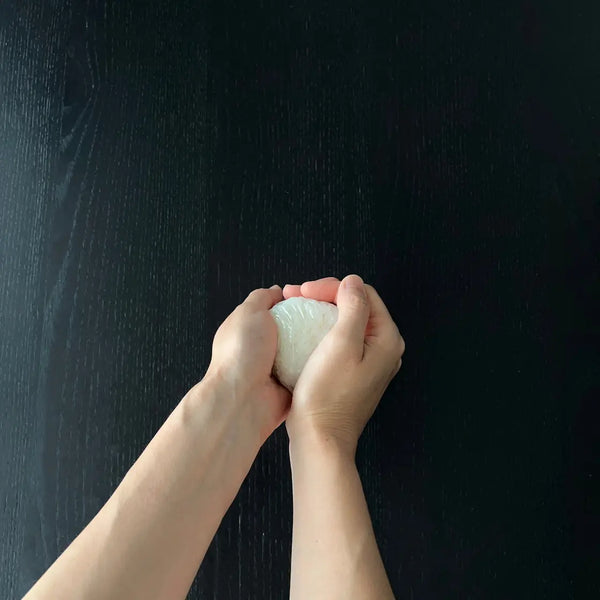
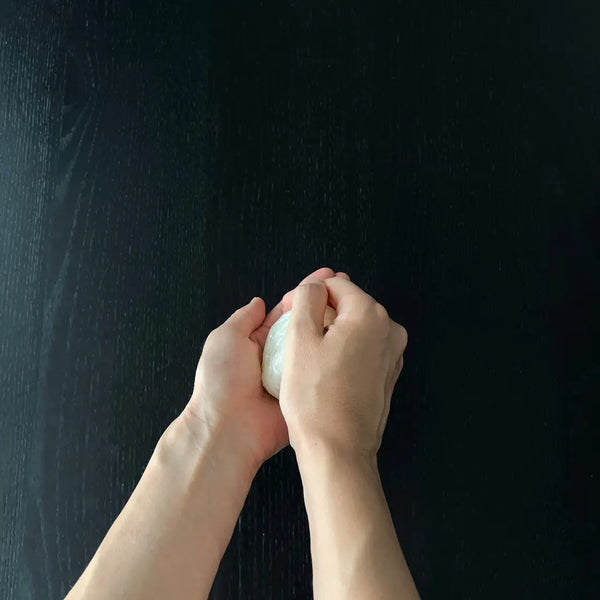
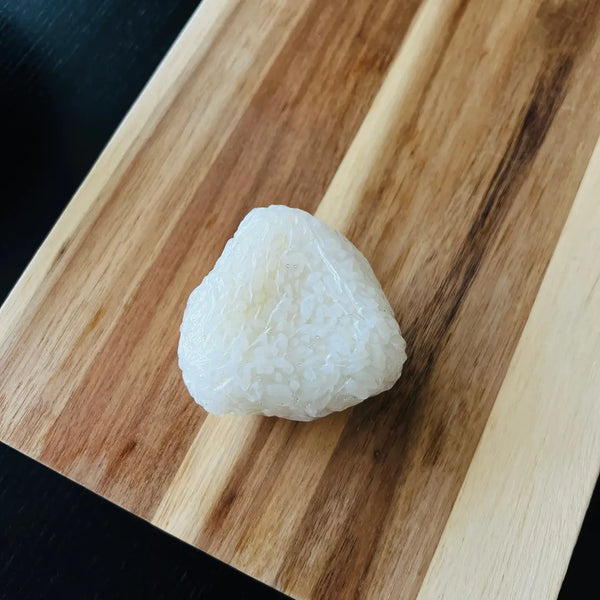
Prepare warm rice: The temperature of rice is important for making delicious yaki onigiri. When the rice is warm, it is easier to shape the onigiri ball because it sticks together more easily.
-
Press tightly when shaping: Pressing the onigiri tightly helps it keep its iconic triangle shape and prevents it from breaking while grilling or frying. This is especially useful if you’re trying how to fry onigiri or even make air fryer yaki onigiri.
-
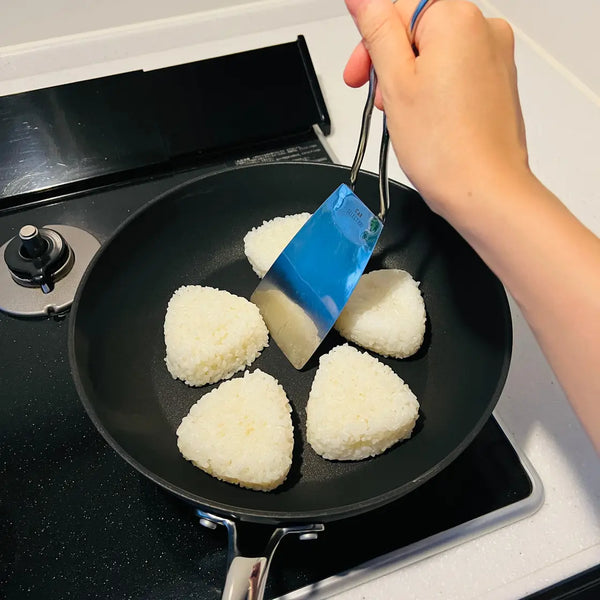
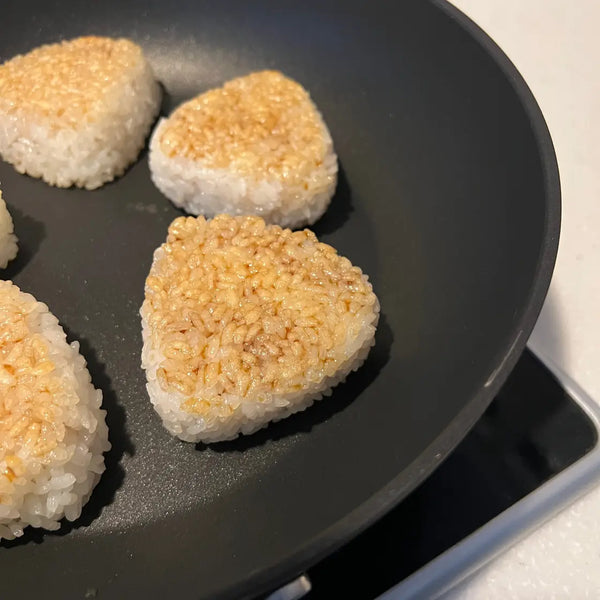
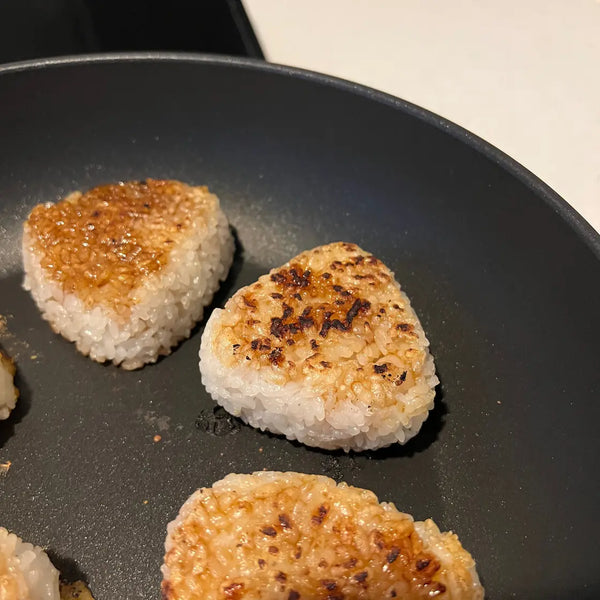
Don’t flip too often: Wait until the surface becomes crispy before turning. Over-handling will break the rice patties.
-
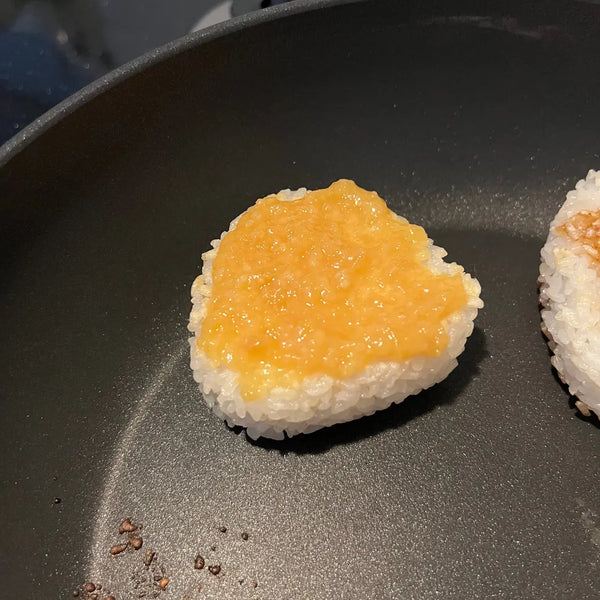
Add the sauce at the right time: Once both sides are golden, brush with your favorite yaki onigiri sauce. Classic options include soy sauce onigiri or miso glaze. This step is key for getting that perfect sauce for rice balls flavor.
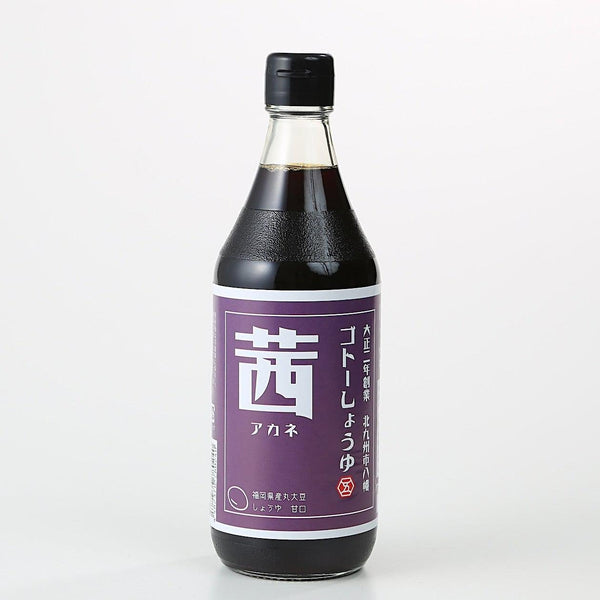
Yaki onigiri is a very simple dish, so the choice of sauce really determines the taste. Traditional flavors use soy sauce onigiri glaze or miso, but modern recipes even experiment with garlic butter, sesame, or sweet soy. For our recipe, we recommend amakuchi shoyu (sweet soy sauce) because it gives a perfect balance of umami and mild sweetness.
Amakuchi shoyu has a light sweetness, so you can enjoy delicious Japanese grilled rice balls with just this one seasoning. If you prefer variety, you can try miso paste, sesame glaze, or even spicy blends as your rice ball sauce.
Making grilled rice balls is easier than you think:
-
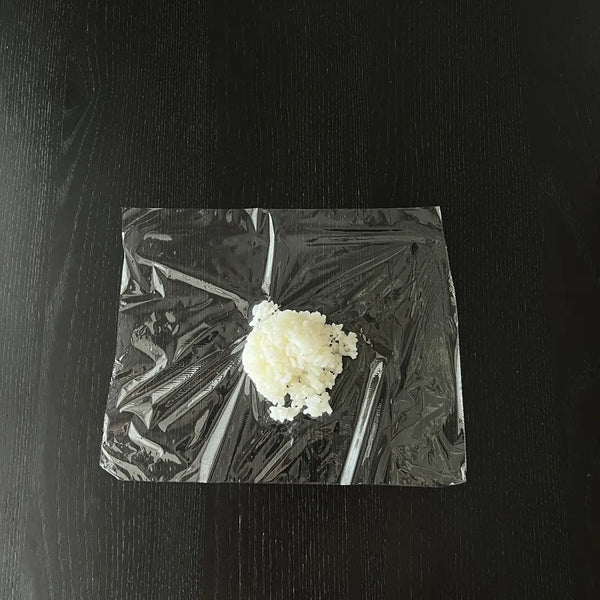
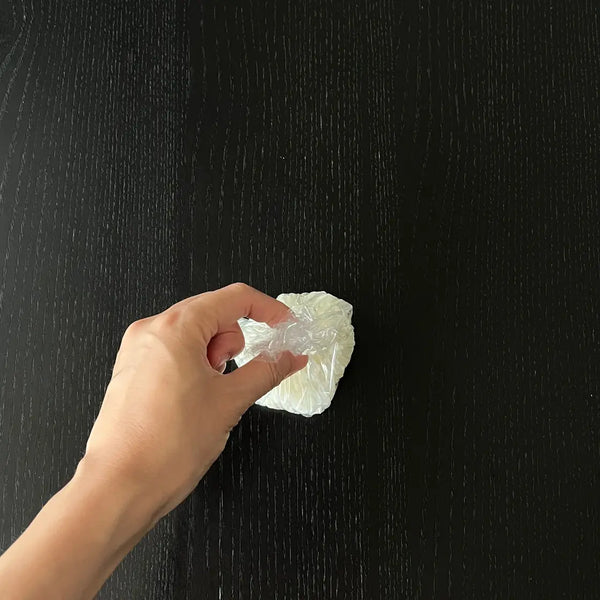
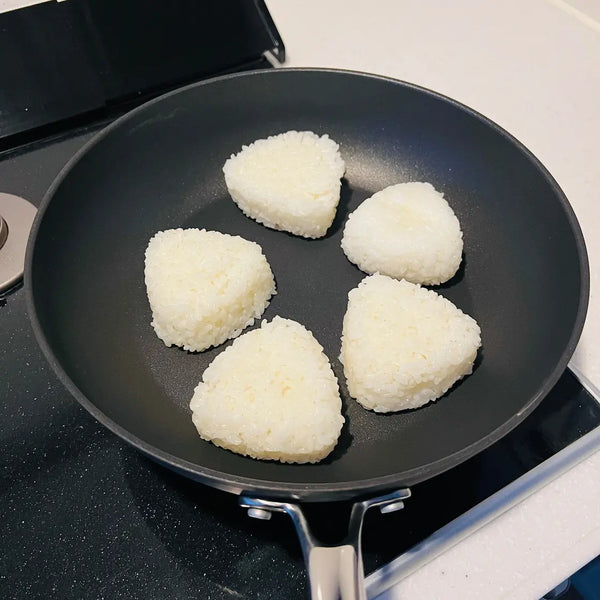
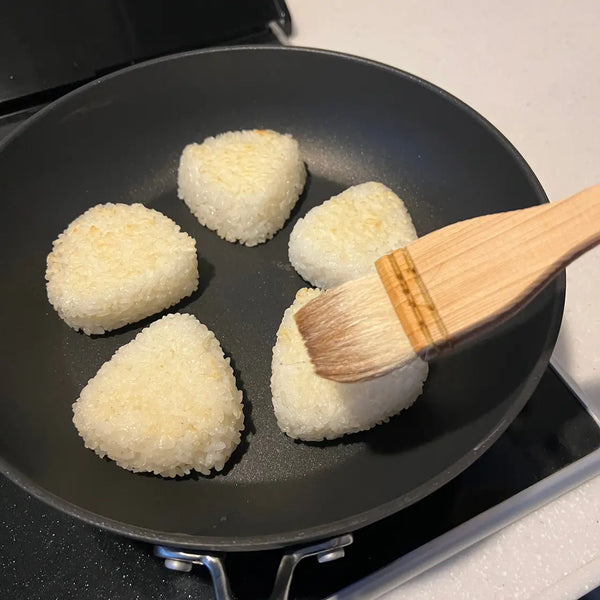
Shape warm rice into triangle or round onigiri balls.
-
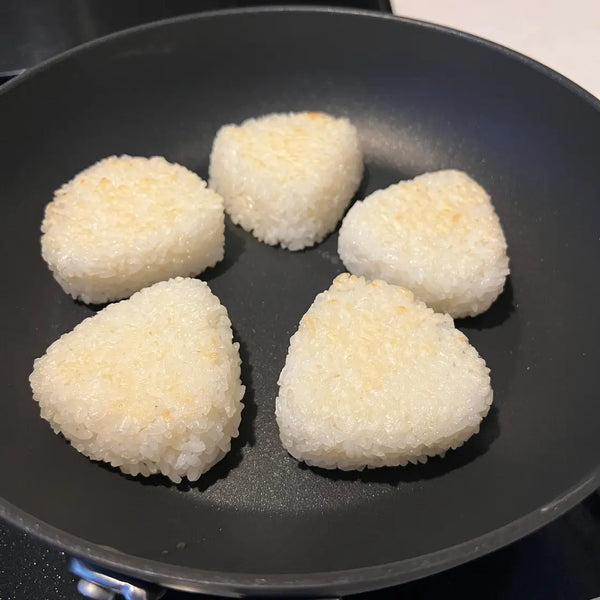
Grill or pan-fry until both sides become crispy.
-
Brush with your chosen onigiri sauce (soy, miso, or tare).
-
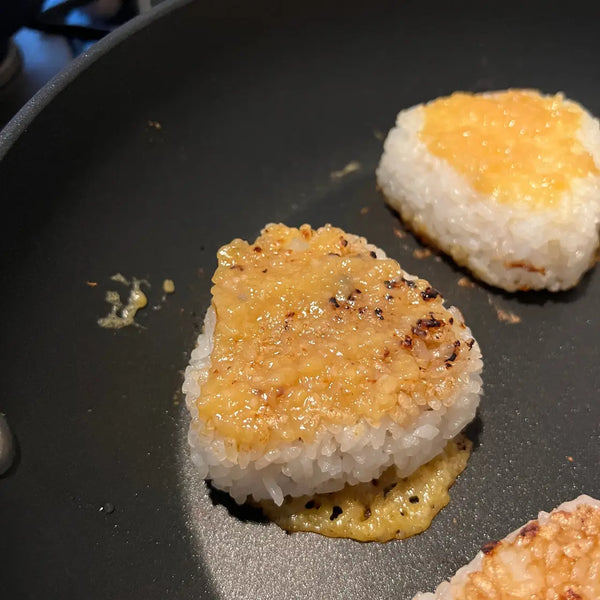
Flip carefully until caramelized.
For busy cooks, you can also try onigiri air fryer recipes, which give the same crispy results with less oil.
If you’d like to go beyond grilled rice balls, check out our guide on 5 onigiri filling ideas!
Overview
Prep time: 10 mins
Cook time: 20 mins
Total time: 30 mins
Total servings: 10
Difficulty: Easy
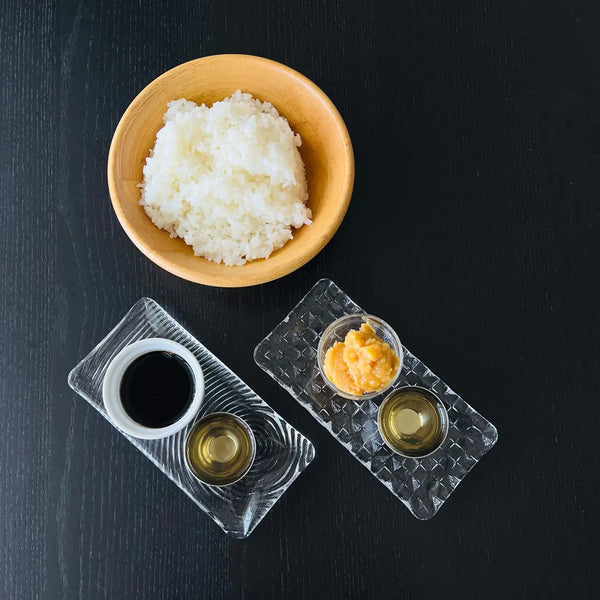
Ingredients
- 400g Rice (for the soy sauce version)
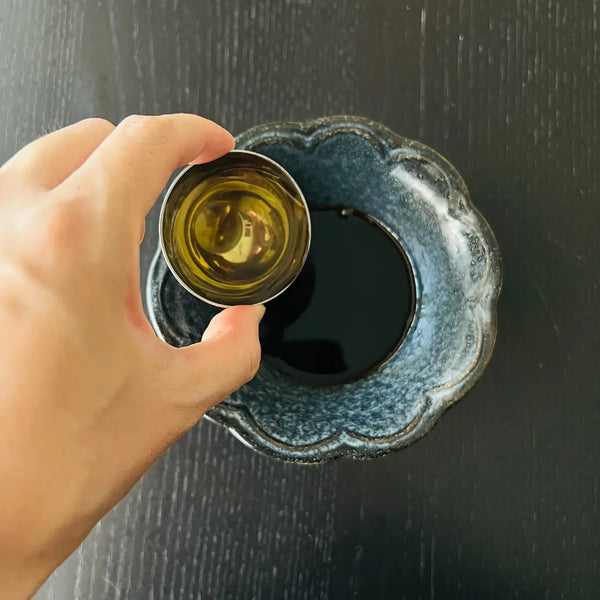
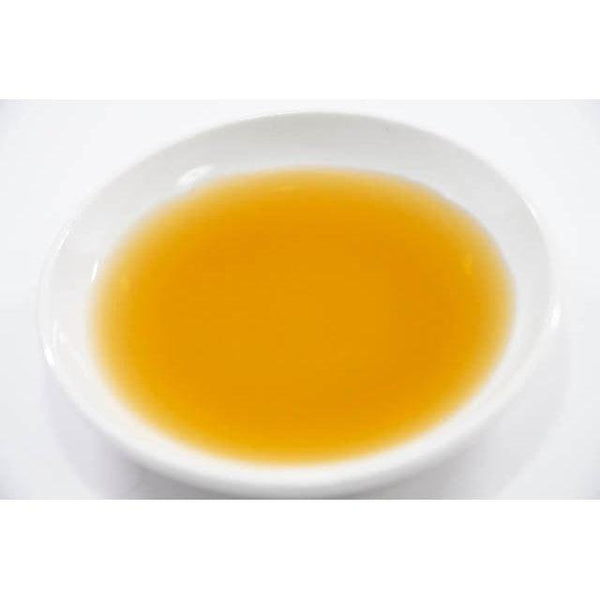
- 2 Tbsp Amakuchi Shoyu (Sweet Soy Sauce) or Dark Soy Sauce
- 1 Tbsp Mirin (optional, recommend if using dark soy sauce)
- 400g Rice (for the miso version)
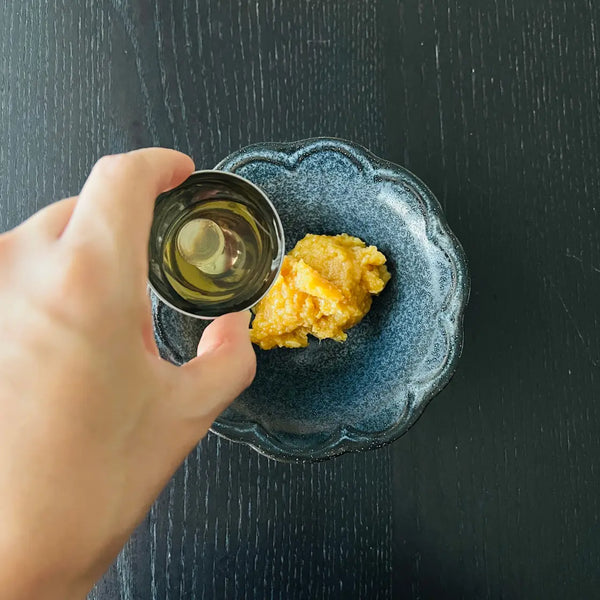
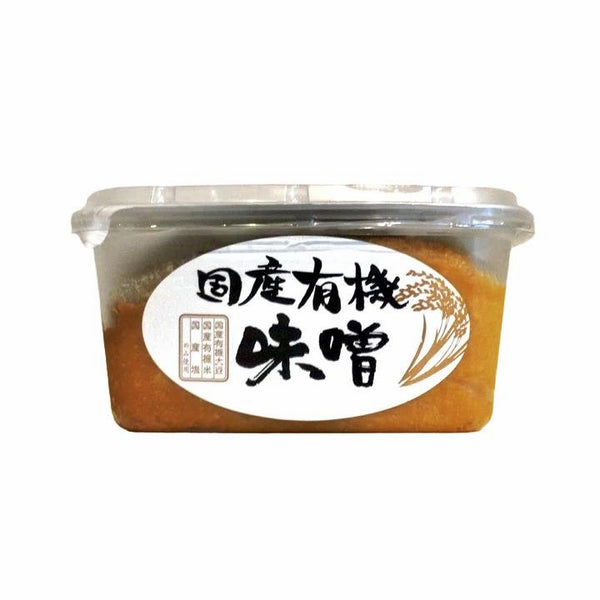
- 2 Tbsp Miso Paste (any type is ok)
- 1 Tbsp Mirin
Expert's Tip
Instructions
1) Gathering the Ingredients & Preparing the Tare
2) Shaping the Rice Balls Into Triangles
3) Grilling the Onigiri
4) Allowing the Onigiri to Get Crispy

5) Brushing the Onigiri with Tare
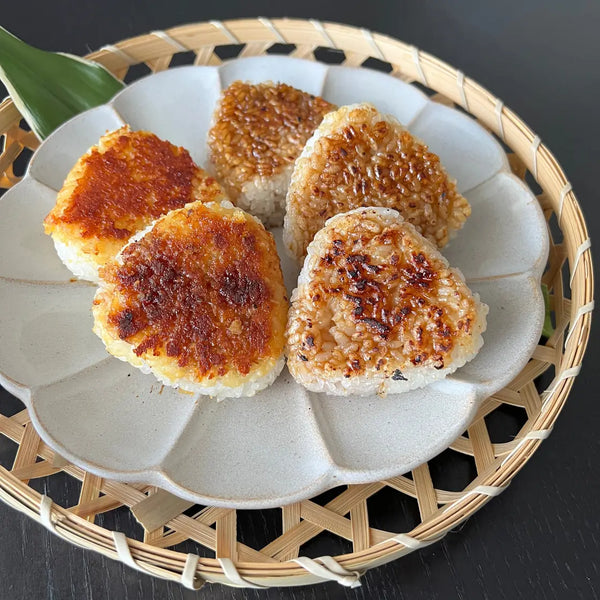
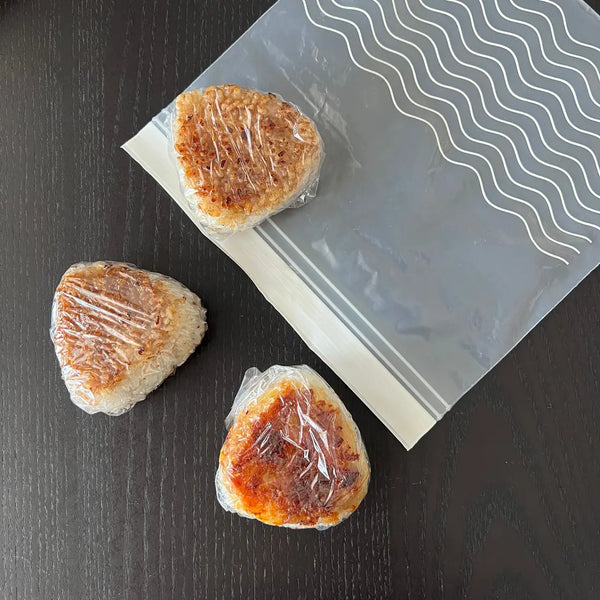
6) Transferring Yaki Onigiri to a Plate
7) Air Frying Yaki Onigiri


0 comments